August 7, 2025
Mastering Colab AI Image Generator: A How-To Guide

Greg Kopyltsov
Founder
colab ai image generator

AI image generation has become more accessible than ever thanks to Google Colab, a free and powerful tool that lets anyone run advanced AI models using Python. With just a web browser, you can harness the same technology used by data scientists and creative professionals to turn text prompts into vivid images. This guide shows how easy it is to get started with Google Colab, break down the tools you need, and walk you through the process of creating eye-catching AI-generated images at no cost.
For those new to Google Colab, it’s a free, browser-based development environment designed for data science and AI projects. With built-in support for Python code and access to GPUs, Colab streamlines the setup needed to experiment with cutting-edge models.
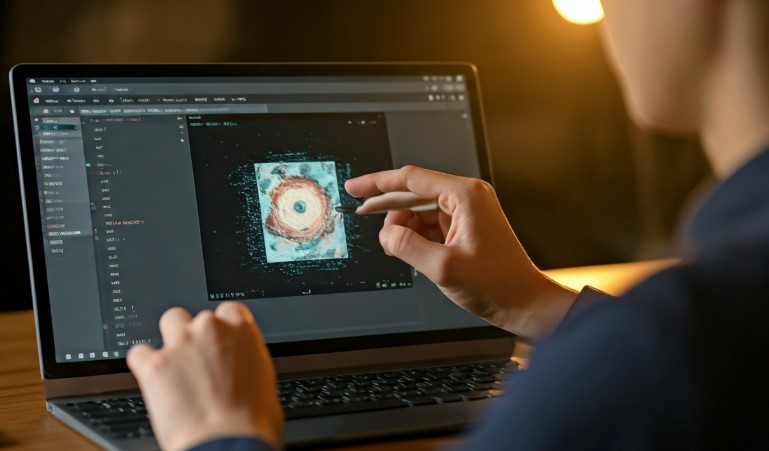
AI-generated images are now possible for anyone, not just experts. Colab enables you to use models such as Stable Diffusion to create artwork or visualize concepts simply by entering descriptive text. Ready to learn how to set up your own free AI image generator or use notebooks like Stable Diffusion and VQGAN+CLIP? Let’s see how it’s done.
Google Colab is a free, cloud-based notebook service provided by Google. It allows you to write and run Python code without any local installation, which is especially useful for resource-heavy AI tasks. All you need is a Google account, and you’re ready to launch code in the cloud.
Colab’s integration with AI makes advanced image generation approachable. There’s no need to set up complicated environments—just open a notebook and start working. You can connect Colab directly to your Google Drive, keep your generated images safe, and access powerful tools for data science and image creation.
Because Colab is both cost-effective and simple to use, it’s the go-to platform for rapid experimentation with AI. Whether you’re tweaking a text prompt or testing different models, Colab offers a flexible, user-friendly development environment. It’s perfect for anyone interested in building or experimenting with AI-generated images from scratch.
Stable Diffusion stands out due to its ability to create high-quality generated images from complex text prompts, leveraging an intricate process of diffusion and noise reduction. VQGAN+CLIP combines the strengths of generative adversarial networks and text-based image synthesis, allowing users to generate visually captivating imagery by seamlessly blending them. DALL·E, developed by OpenAI, innovates further with its capability to understand intricate prompts and produce unique images that reflect deep contextual understanding. Each of these tools presents a distinctive approach to understanding and interpreting data through images.
Before you jump in, you’ll need a few foundational tools: a Google account for Colab, some familiarity with Python, and a web browser. For image generation notebooks, Colab’s free GPU resources are sufficient for beginners. You’ll often use APIs or tokens from sites like Hugging Face to access pre-trained models.
While you don’t need deep technical knowledge, understanding basic Colab functions and the limits of free accounts helps set expectations. You can find beginner-friendly code repositories and collaborate with the AI community to get inspired and troubleshoot issues.
Free Google Colab accounts provide access to limited hardware, usually including a standard GPU like the K80 or T4. These resources are shared and can run out during peak times, leading to session interruptions or slower speeds.
Compute and memory are capped—intensive jobs may hit these limits, causing notebook crashes or errors. You’re also subject to a maximum usage window (typically 12 hours or less per session), after which your runtime will reset.
To work within these limitations, run smaller batches, save your work often, and avoid running multiple large notebooks at once. If you need more power or longer sessions, Colab Pro offers faster GPUs, more memory, and longer runtime limits for a monthly fee. Always monitor Colab’s status bar for available hardware, and manage your code to reduce the chance of running out of resources.
Getting started is easier with the right tools and repositories. Here are some essentials:
You’ll also use key Python libraries—such as PyTorch and OpenAI’s APIs—to interact with the models. When running a Colab notebook, often you’ll authenticate using your Google account and, for some models, a Hugging Face token.
To discover reliable, beginner-friendly options, browse the repositories above or search for “text2image colab notebook” on GitHub. Users frequently share successful setups and troubleshooting tips in the notebook’s README or comments section.
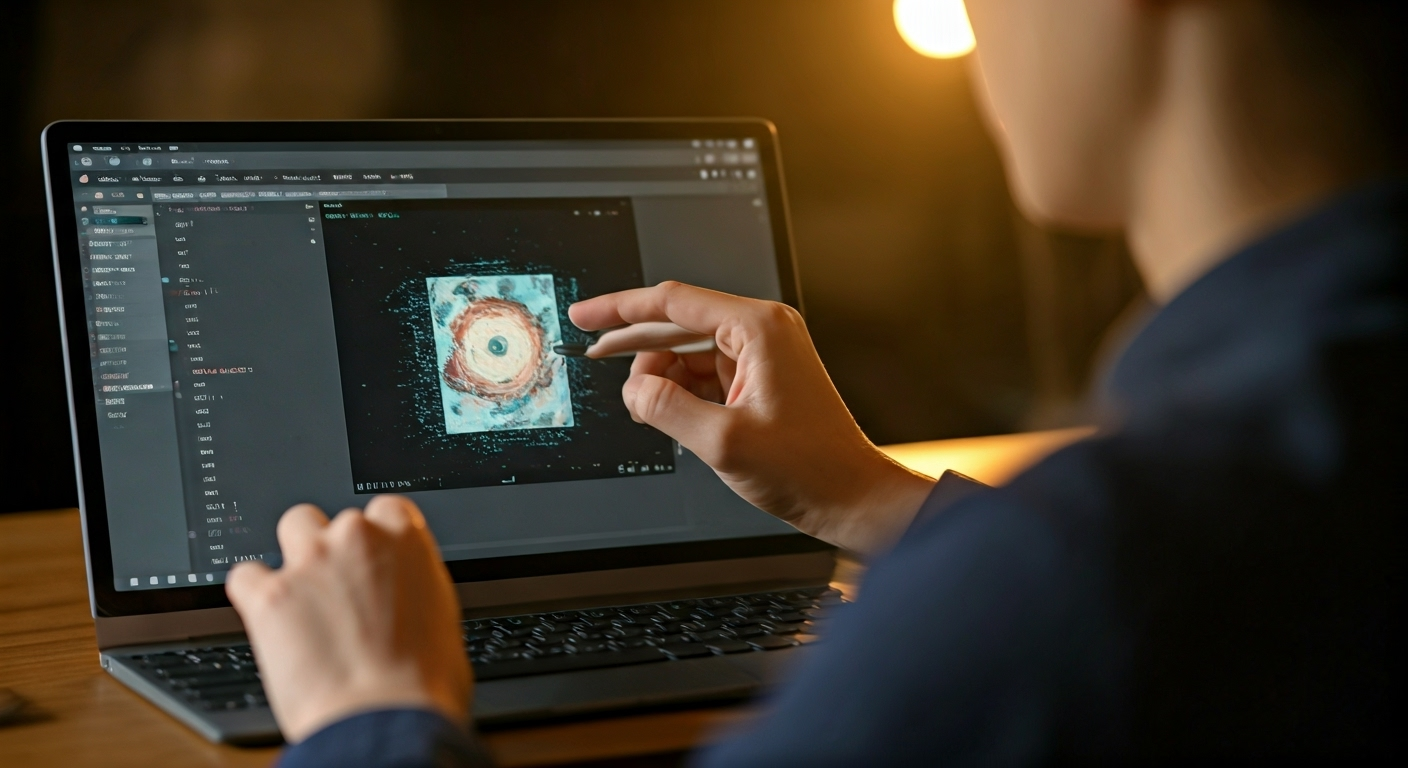
Generating images using Colab involves a multi-step process you can master quickly. First, you’ll set up your Colab environment to run Python code, then access or copy a suitable notebook for your chosen model. Next, you’ll enter text prompts and fine-tune settings to shape your results, before finally downloading your generated image.
This section will walk you through each hands-on step, providing clear guidance on setup, running notebooks, prompt input, and image export—so you can create your own AI-generated visuals with confidence.
Start by launching Google Colab in your browser and opening a new notebook. If you’re following a shared notebook, use “File > Save a Copy in Drive” to keep your own editable version.
Next, ensure your Python environment is ready. Most AI image notebooks come pre-configured, but some require you to install specific libraries. You’ll see Python code cells at the top for setting up dependencies—run these as instructed.
Authentication is crucial for accessing certain models or saving outputs. For example, you might log in with your Google Drive to store images or use a Hugging Face token to download pre-trained models. Always follow the notebook’s prompts for authentication. With your Colab environment prepared and authenticated, you’re set to move on to launching the AI image generation notebook and begin creating.
To access an AI image generator, locate a reputable Colab notebook—such as those found in “faizonly5953/Diffusion-Colab” or “olaviinha/NeuralTextToImage.” Click the notebook link and choose “Open in Colab.”
Copy the notebook to your Drive if you plan on editing or saving results. Once in Colab, follow the instructions to install required packages and authenticate with any needed APIs. Notebooks often provide step-by-step code cells: click each cell’s “Play” icon to run it in sequence.
Monitor the output of each cell carefully. You’ll see messages showing progress, downloads, and potential errors. Should you encounter issues—like missing dependencies or API errors—read the messages and consult the notebook’s README or user comments for solutions. Running all setup cells correctly ensures your AI model and image generation workflow are ready for use.
Once your notebook is set up, look for the cell labeled “Prompt” or “Text prompt.” Here, you’ll input a description of the image you want—anything from “a futuristic city at sunset” to “portrait of a cat in Renaissance style.”
You can also adjust generation parameters, such as image width, height, and style tokens. Changing these settings alters the size and appearance of your generated image. Some models allow “negative prompts” to exclude unwanted features.
Experiment with different prompts and settings to see how the output changes. Try varying your descriptions for more detailed or stylized results. Iterative testing—tweaking words or adjusting options—often leads to the best images. Keep your prompts clear and specific for the highest quality, and enjoy exploring the creative possibilities.
After your image is generated, Colab notebooks typically display the result directly within the output cell. To download the image, look for a download link or button—many notebooks offer “Download” or “Save to Drive” options built into the final code cell.
If you encounter problems saving (like permissions errors or missing download options), check for Google Drive authentication steps or review the output format. Sometimes, you need to run an extra cell to convert the file format or explicitly save it to a folder in your Drive.
To keep your files organized, create a dedicated folder in Google Drive or on your device for your AI-generated images. Rename files with meaningful titles, and back up your favorites. Reviewing and storing your outputs systematically helps track your creative experiments and makes sharing images easier.
Achieving lifelike, impressive images starts with the right combination of model and prompt. Choosing the most suitable pre-trained AI model impacts the realism, while carefully crafted prompts direct the creative output. Test various prompt styles and details—subtle changes can make a big difference.
For diffusion models like Stable Diffusion, understanding their step-by-step refinement process enables you to adjust settings for sharper, more accurate visuals. The following sections detail model choices, prompt engineering, and proven troubleshooting tips for the best results.
Selecting the right model is foundational for great results. Consider these options:
Prompt engineering is the art of wording your description for clarity and specificity. Start with straightforward, concise prompts: “a red vintage car” yields direct results, while complex scenes may require layered instructions. Add or remove style tokens to steer the outcome—“in the style of Van Gogh” or “hyper-realistic.”
Refine your prompts iteratively. Evaluate each result and adjust words or parameters according to what you see. This process helps you understand how the model interprets your input, making your future prompts more effective and your AI-generated images more impressive.
To avoid common issues and maximize output quality, keep these practices in mind:
Frequent errors include “out of memory” messages or failed downloads. Check the notebook logs for specific error details. Restarting the runtime, clearing outputs, or re-running setup cells often fixes temporary issues.
If you’re stuck, consult README files, search the repository’s issues, or look for advice in user comments. The Colab and Hugging Face communities are active and helpful, offering solutions for common hurdles. Developing a habit of checking logs and documentation will keep your creative process smooth and frustration-free.
KeywordSearch has an AI Audience builder that helps you create the best ad audiences for YouTube & Google ads in seconds. In a just a few clicks, our AI algorithm analyzes your business, audience data, uncovers hidden patterns, and identifies the most relevant and high-performing audiences for your Google & YouTube Ad campaigns.
You can also use KeywordSearch to Discover the Best Keywords to rank your YouTube Videos, Websites with SEO & Even Discover Keywords for Google & YouTube Ads.
If you’re looking to SuperCharge Your Ad Audiences with AI - Sign up for KeywordSearch.com for a 5 Day Free Trial Today!
In summary, mastering the Colab AI Image Generator opens up a world of creative possibilities for generating stunning images. By understanding the setup process, hardware requirements, and choosing the right tools and models, you can elevate your image creation experience. Remember to leverage best practices in prompt engineering and optimization techniques to achieve high-quality results. As you navigate this exciting journey, don’t hesitate to explore various models and experiment with different prompts to unlock the full potential of AI-generated imagery. If you're ready to enhance your skills further, consider booking a free consultation to get personalized guidance on your projects!
Yes, Google Colab allows free AI image generation using text prompts, but there are limitations such as restricted GPU availability, session timeouts, and limited memory. These can affect both how large and how many images you can generate before needing to restart or upgrade.
To troubleshoot errors in Colab, read cell output messages and notebook logs for clues. Restart the runtime, ensure all setup cells are run in order, and check authentication. For persistent issues, consult the notebook’s README or search community forums for solutions.
Absolutely—beginners should explore free pre-trained models and code in repositories like “faizonly5953/Diffusion-Colab” and “olaviinha/NeuralTextToImage.” Hugging Face is another great source for reliable models compatible with Google Colab. These resources simplify setup and offer user-friendly guides.
Diffusion models like Stable Diffusion operate by iteratively refining random noise into a coherent image, leveraging a learned data distribution. Compared to other methods such as VQGAN+CLIP, they offer improved image quality and flexibility, making them effective for diverse creative applications in Colab.